Nest Thermostat Installation Wiring: Complete Guide for Easy Setup and Benefits
Installing a Nest Thermostat can be a game-changer for your home’s energy efficiency and comfort. With its sleek design and smart functionality, the Nest Thermostat allows you to control your home’s heating and cooling from your smartphone, tablet, or voice assistant. This guide will walk you through the process of installing the wiring, explain the benefits of having a smart thermostat, and highlight real-world examples of the Nest Thermostat in action.
Why Choose a Nest Thermostat?
Before diving into the installation process, it’s important to understand why the Nest Thermostat is a great choice for homeowners. A smart thermostat like Nest offers the convenience of adjusting your home’s temperature remotely and can lead to significant savings on energy bills.
Energy Savings
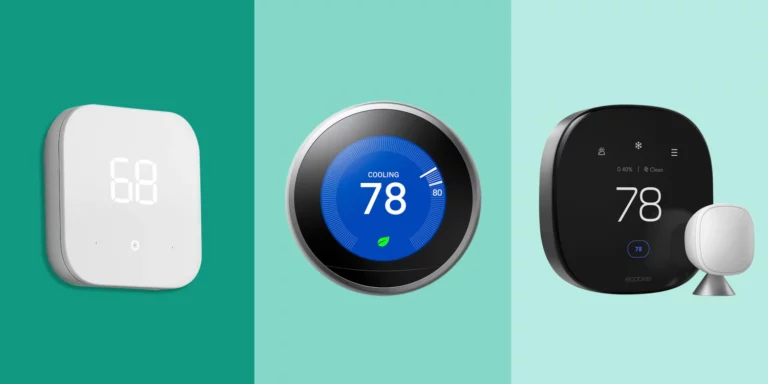
One of the most significant benefits of installing a Nest Thermostat is its ability to save you money on energy bills. The Nest Thermostat learns your schedule over time, adjusting the temperature based on when you’re home or away. This eliminates the need for running your heating or cooling system when it’s not needed.
Easy Integration with Smart Homes
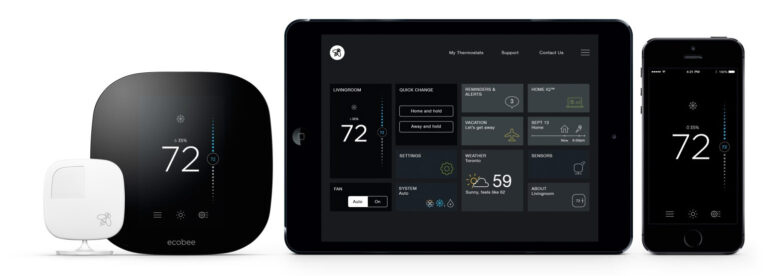
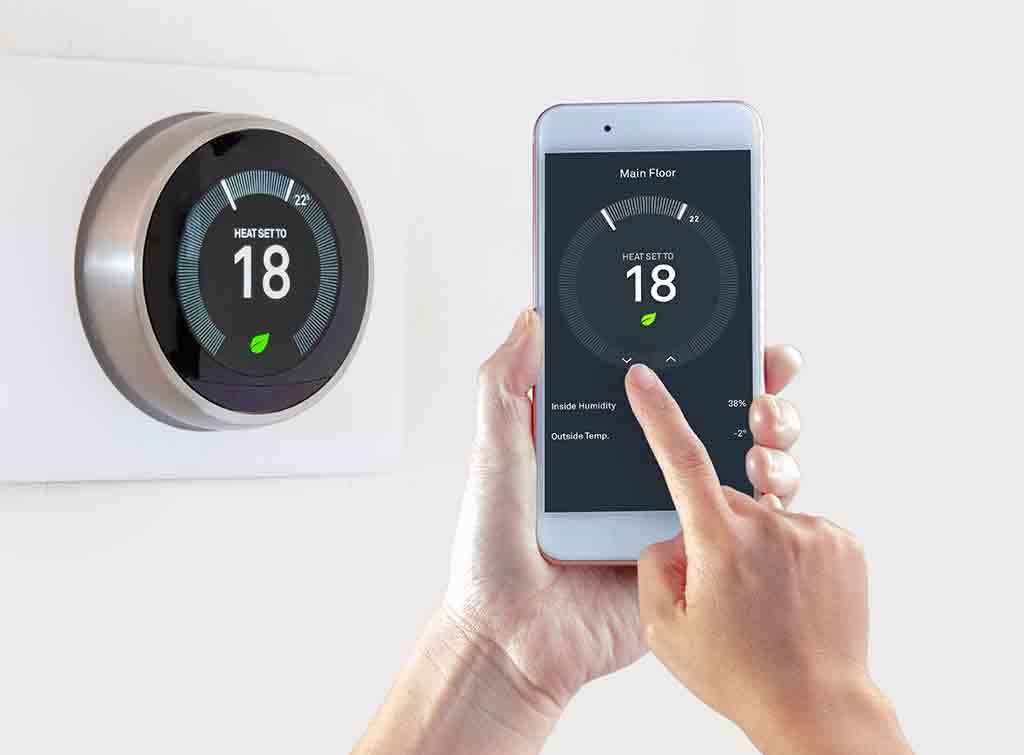
The Nest Thermostat works seamlessly with other smart devices in your home, like Google Home or Amazon Alexa. You can control the temperature with your voice or remotely through the Nest app on your smartphone, which is especially convenient when you’re away or in bed.
Eco-Friendly Features
The Nest Thermostat also contributes to environmental sustainability by helping reduce your energy consumption. With features like eco modes and energy-saving schedules, it helps reduce your carbon footprint while keeping your home comfortable.
Nest Thermostat Installation Wiring: What You Need to Know
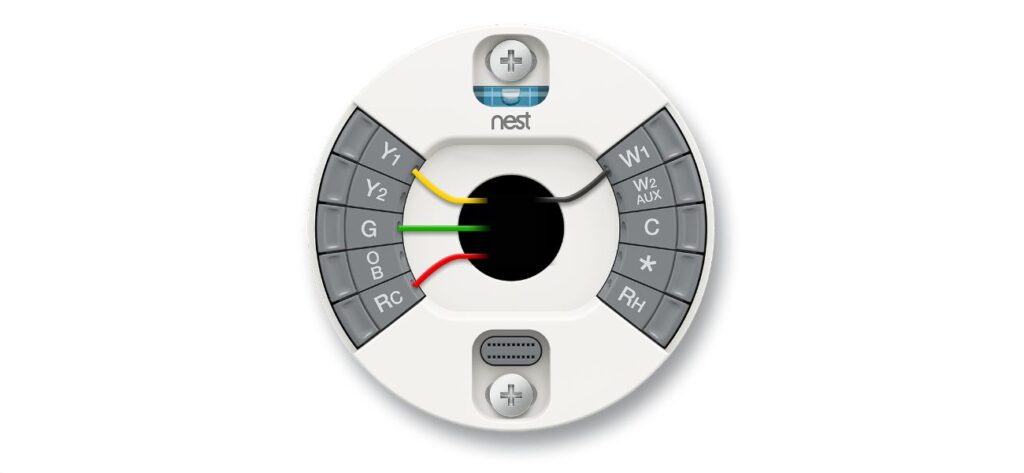
Installing the Nest Thermostat might seem daunting, but the process is straightforward, especially when you understand the basic wiring involved. The key to a successful installation is understanding the connections between the thermostat and your home’s HVAC system.
Step-by-Step Wiring Instructions
- Turn Off Power: Before you begin any installation, ensure the power to your HVAC system is turned off to prevent any electrical accidents.
- Remove Old Thermostat: Carefully detach your old thermostat from the wall, making note of how the wires are connected. This is crucial for the next step.
- Label Wires: The Nest Thermostat requires you to connect certain wires to specific terminals. Use the included labels to tag each wire according to the terminal it connects to. Common terminals are labeled with letters such as R, Y, C, W, and O.
- Connect the Wires to the Nest Thermostat Base: Once labeled, connect the wires to the corresponding slots on the Nest Thermostat base. Nest’s design allows for a simple plug-and-play connection.
- Attach the Nest Thermostat to the Base: Once the wires are securely attached, place the Nest Thermostat on the base and snap it into place.
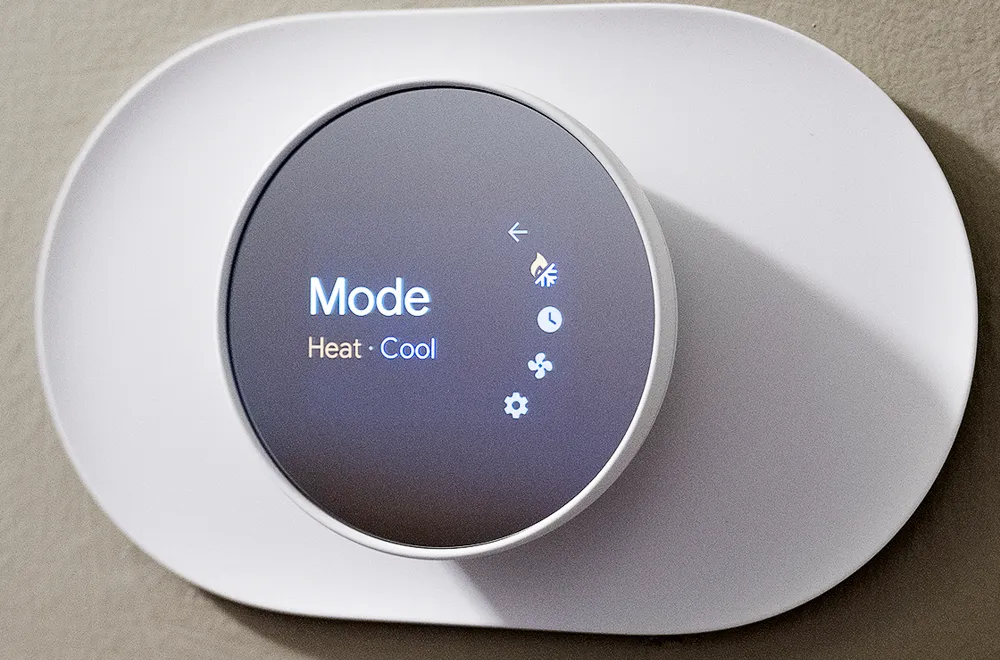
- Power On and Configure: Finally, restore power to your HVAC system, and follow the on-screen prompts on the Nest Thermostat to complete the setup.
Common Wiring Configurations
Depending on your home’s HVAC system, you might encounter different wiring setups. The most common configurations include:
- Single Stage Heating and Cooling: Typically, you’ll have a few simple wires connected to the thermostat, such as R, W, and Y.
- Heat Pump Systems: These systems often require more complex wiring, like an O/B wire for heat pump changeover.
- Multi-stage Systems: These setups might require additional connections for advanced heating and cooling options.
Understanding your system’s wiring configuration is key to a smooth installation process. If you’re unsure about your system’s setup, it’s always a good idea to consult a professional.
Real-World Examples of Nest Thermostat Use
Here are five real-world examples of how the Nest Thermostat can make a positive impact in various home settings:
- Example 1: Energy Efficiency in a Small Apartment
For a young professional living in a small apartment, a Nest Thermostat can help save money while providing convenience. By adjusting the temperature based on the user’s schedule, the Nest ensures that energy isn’t wasted while the apartment is unoccupied.
- Example 2: Large Family Home with Multiple Zones
In a large home with multiple zones (upstairs and downstairs), the Nest Thermostat’s ability to control different temperatures for each zone is invaluable. The device helps the family stay comfortable without running the HVAC system unnecessarily, leading to lower utility bills.
- Example 3: Vacation Home
For a vacation home, the Nest Thermostat offers remote control, so homeowners can adjust the temperature before they arrive. This ensures that the house is comfortable upon arrival without the need to leave the system running when the house is unoccupied.
- Example 4: Commercial Office Space
A small business owner with a commercial office space can benefit from the Nest Thermostat by using its energy-saving modes to reduce heating and cooling costs. The Nest can be programmed to automatically adjust the temperature after office hours to save energy.
- Example 5: Eco-Conscious Household
A family looking to reduce its carbon footprint can use the Nest Thermostat’s eco features to manage energy consumption. The system provides detailed energy reports, helping users make more informed decisions about their energy use.
Benefits of Nest Thermostat for Your Home
The Nest Thermostat isn’t just a simple tool for adjusting the temperature; it’s an essential device for modern living. Here are some additional benefits you’ll enjoy by choosing Nest for your home:
Convenience and Control
The ability to control the temperature from anywhere, at any time, provides unmatched convenience. Whether you’re at work or on vacation, you can use the Nest app to make adjustments from your smartphone or tablet.
Smart Learning Features
Nest’s learning capability ensures that it adapts to your lifestyle. After a few weeks of use, it learns your preferences and automatically adjusts the temperature to your comfort level, saving you time and effort.
Auto-Schedule and Energy-Saving Modes
Nest automatically creates a personalized schedule based on your temperature preferences, and it has an energy-saving mode that reduces heating and cooling when you’re not at home.
Where to Buy the Nest Thermostat
You can purchase the Nest Thermostat from several retailers online, such as:
Make sure to compare prices and check for any discounts or promotions that may be available.
Click here to buy Nest Thermostat at Best Buy
FAQ
- What if I don’t have a C-wire for my Nest Thermostat?
If your HVAC system doesn’t have a C-wire, don’t worry! The Nest Thermostat comes with an adapter that allows you to power the device through alternative means. However, if you’re unsure, it’s always best to contact a professional for advice.
- Can I install the Nest Thermostat myself?
Yes, the installation is simple and straightforward. However, if you’re unfamiliar with thermostat wiring, you may want to hire a professional to ensure the installation is done safely and correctly.
- How long does it take to install the Nest Thermostat?
Typically, the installation process takes around 30 minutes to an hour. However, this can vary depending on your home’s wiring setup and your familiarity with the process.
This guide provides all the information you need to successfully install your Nest Thermostat and understand its benefits. With its energy-saving features and convenience, the Nest Thermostat is an investment that will enhance your home’s comfort and efficiency.